
Here’s a comprehensive guide to get your XAI (Grok 3) API key and integrate it into Smax AI for customer support across social platforms.
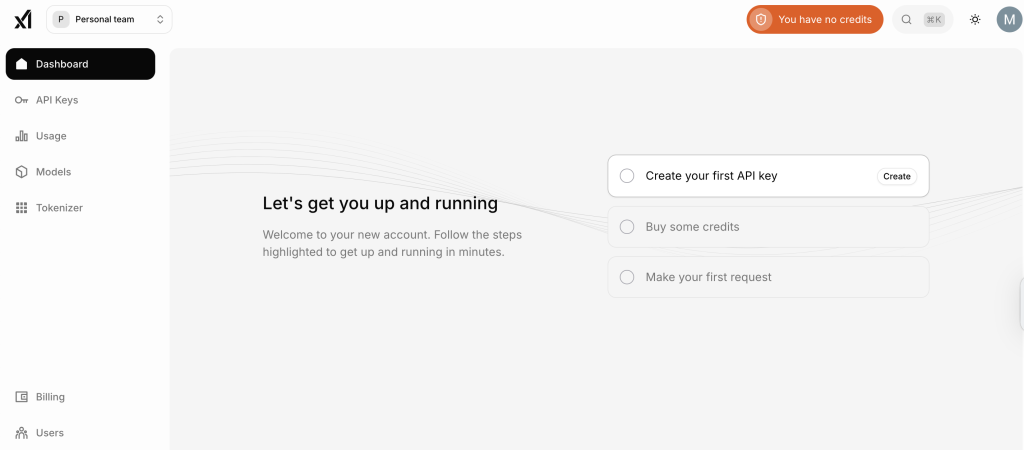
🛠️ Step 1: Create Your xAI Account #
- Go to the xAI Console and sign up using your email or Google/X login
- Complete registration and verify your account.
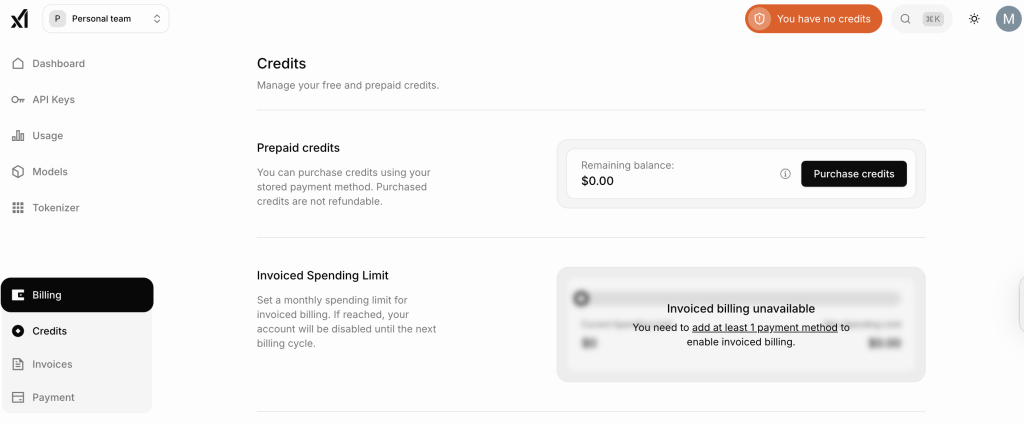
Step 2: Add Billing Details #
- Navigate to Billing / Credits in the console and add payment information. API access requires active billing .
🔑 Step 3: Generate an API Key #
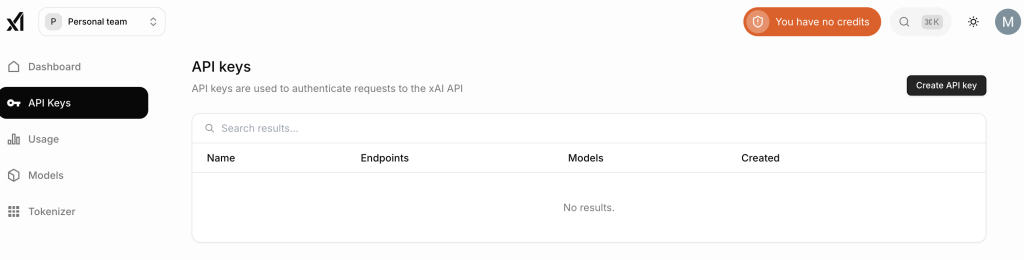
In the xAI Console, go to API Keys.
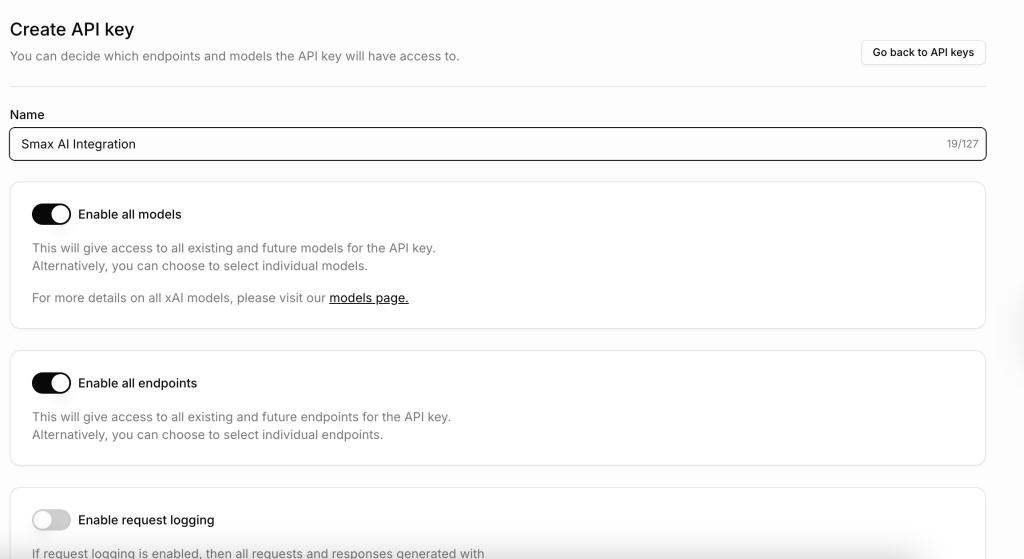
Click Create API Key, name it (e.g., Smax AI Integration), assign needed permissions.
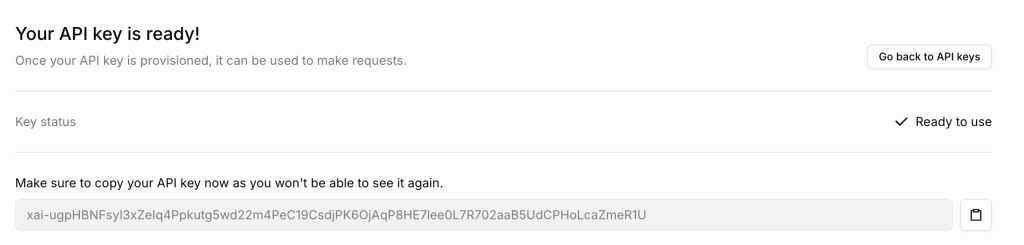
Click Save and copy the key immediately — you won’t be able to view it again
Step 4: Integrate into Smax AI #
Go to your Smax AI dashboard

Navigate to Settings > Integrations > click Add New (or where your model connections are listed)
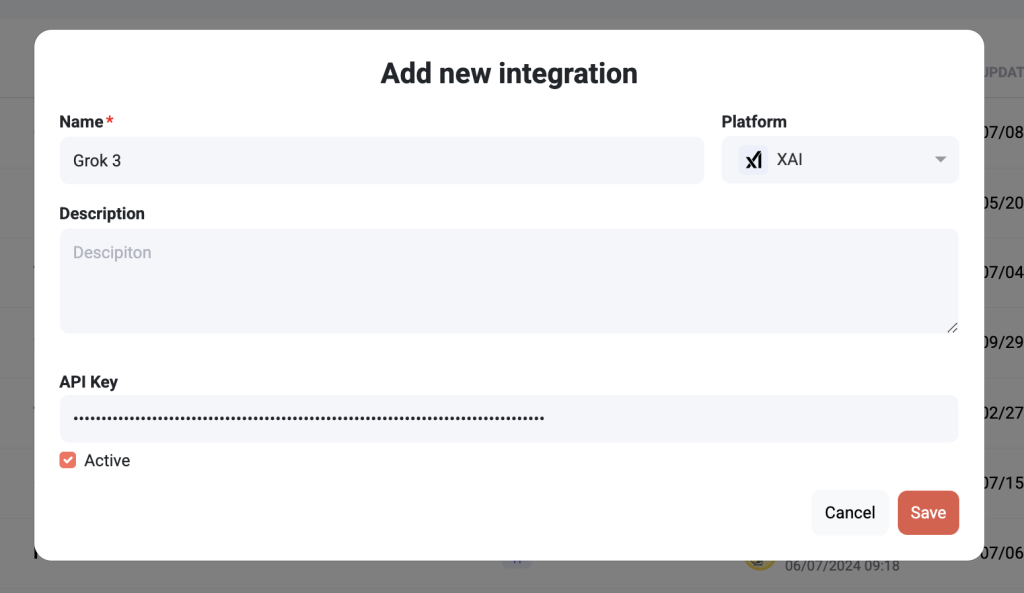
Fill the form as follows:
- Name:
Grok 3 for Support - Platform: choose XAI (Grok)
- Description: “Connect Smax AI to Grok 3 for social customer replies”
- API Key: paste your key
- Active: check the box ✅
- Click Save.
Step 5: Select Grok Model in GenAI #
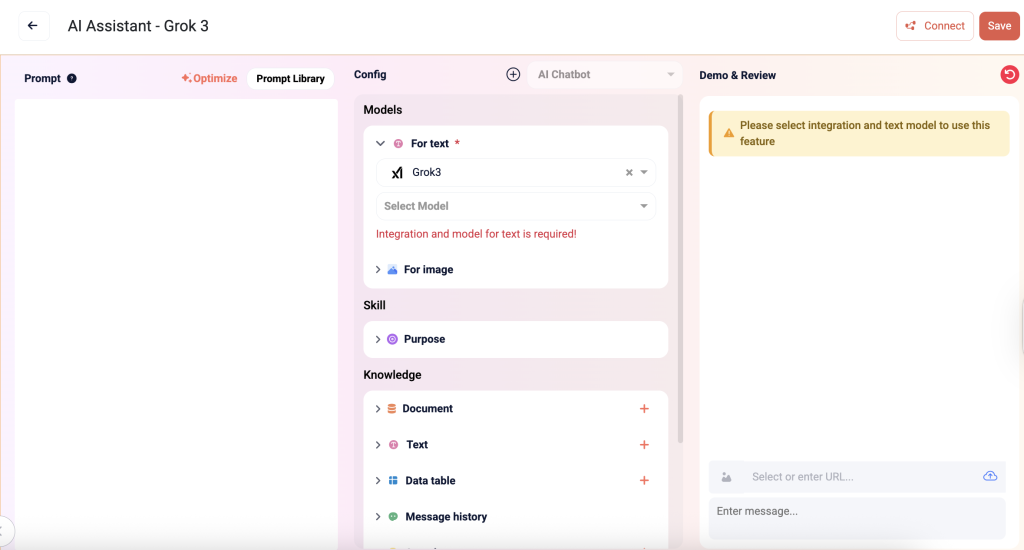
- In GenAi instruction, you can integrate Grok model to use it on Smax AI functions, see how
- Smax AI let you choose a specific Grok model once connected:
grok-3-beta– flagshipgrok-3-fast-beta– lower latencygrok-3-mini-beta– cost-effective reasoning
Tips & Best Practices #
- Choose fast-beta for quick replies, mini-beta for cost efficiency, and the full beta for deep reasoning.
- Control advanced parameters if Smax AI supports them (e.g.
reasoning_effort, temperature) docs.cline.bot. - Monitor usage, billing, and request limits in the xAI Console.
Step 6: Optimize & Maintain #
- Regularly check token usage vs budget.
- Update or rotate keys via the API Console as needed.
- Adjust model selection, prompt styles, or reasoning settings in Smax AI for best performance.


