Step 1: You need to prepare a background image with dimensions under 1000x1000px and size under 2.5MB.
Note: When designing the image, make sure to design both the image frame and the name display area for the customer.
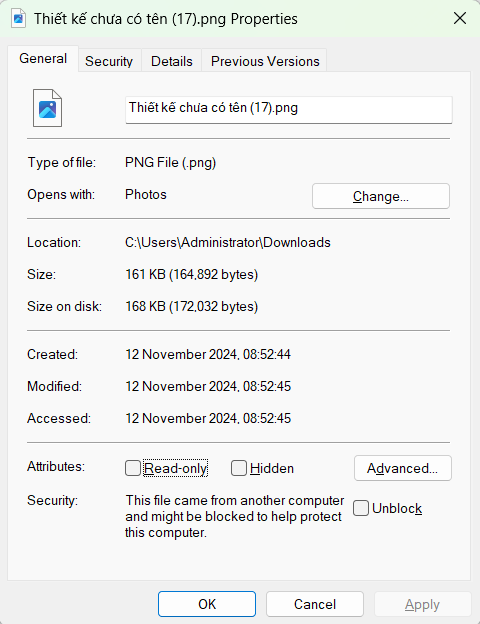
To check image information, open the image you want to use, right-click, and select Properties.
In the image information window, select the General tab to see the image size.
Choose the Details tab to check the image dimensions.
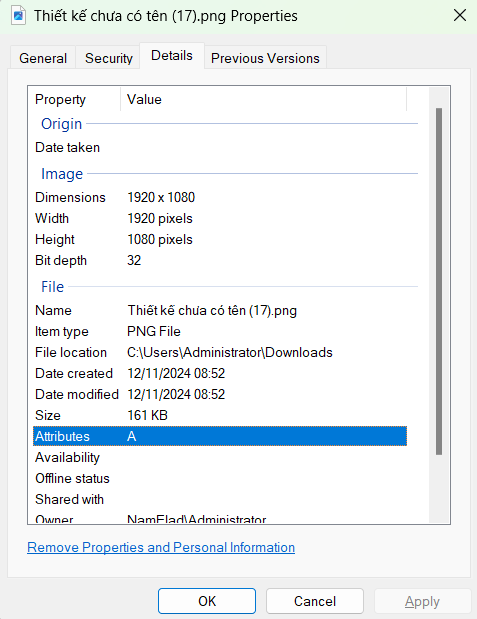
If the size exceeds 2.5MB or dimensions exceed 1000x1000px, you need to resize the image.
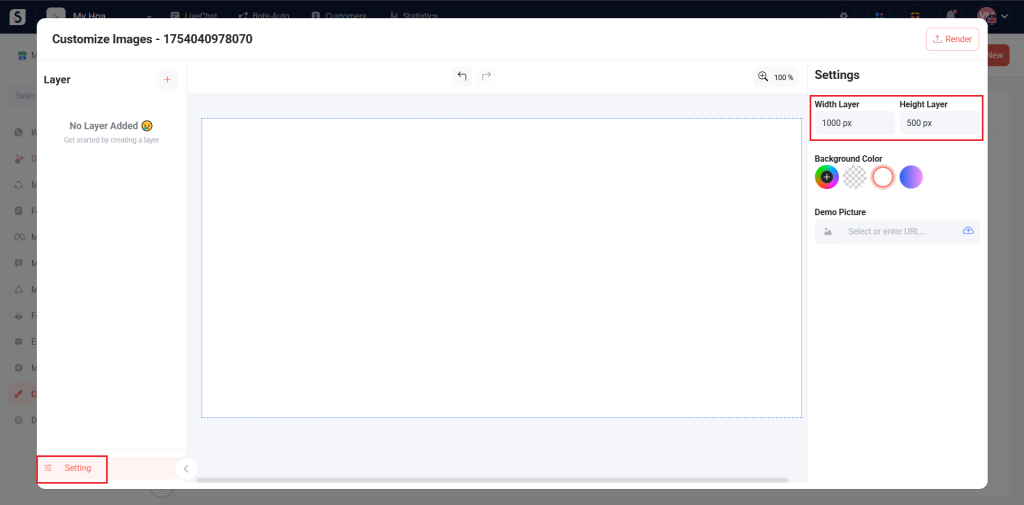
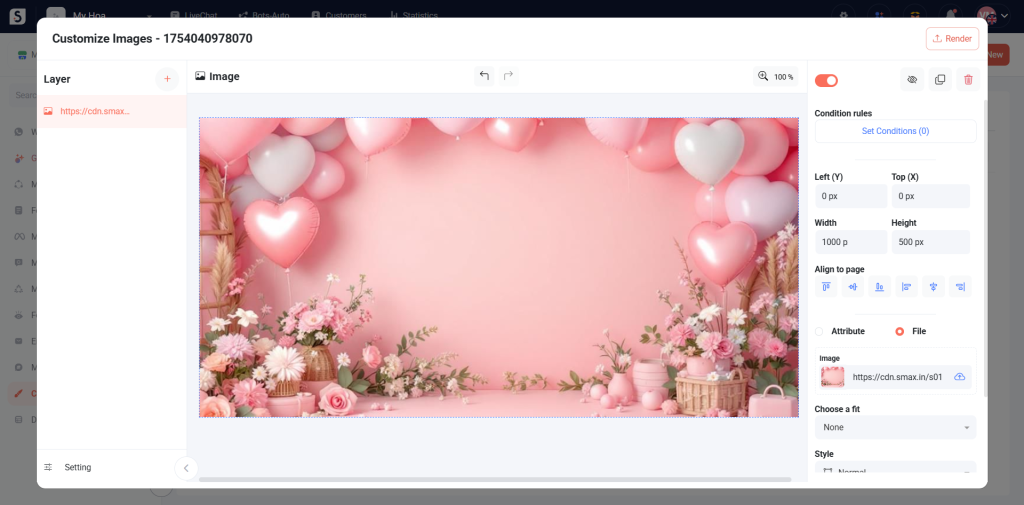
Step 2: Go to the Customize Image module and select Add New, then open Settings.
Adjust the Width and Height of the frame to match the size of the background image prepared in Step 1.
For example, if your image size is 1000x500px, set the width to 1000px and height to 500px.
Step 3: Add a new image layer, set the top margin and left margin to 0px, and adjust the width and height to match the background image size. Upload the background image from Step 1 here.
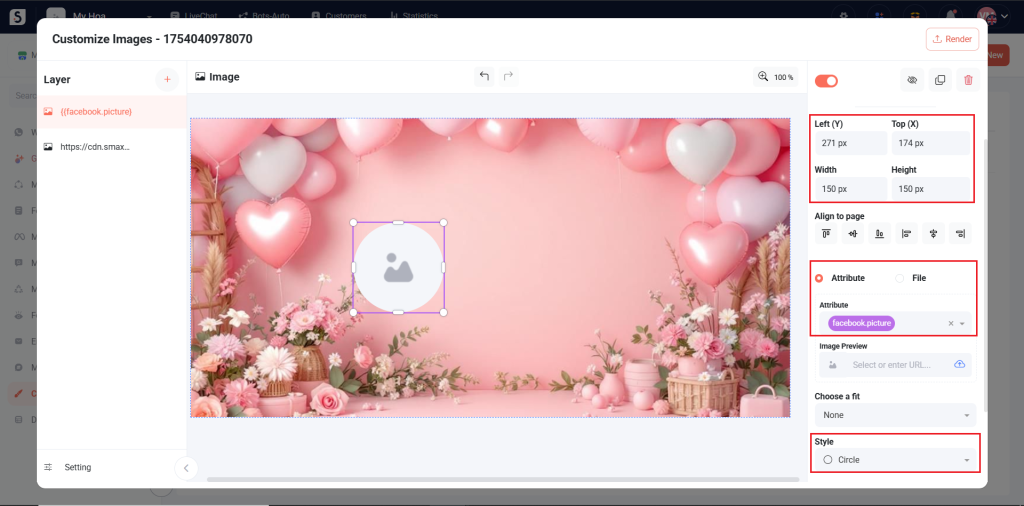
Step 4: Add another image layer, customize the left and right margins and size to fit your background image.
In the value section, select attribute and enter {{facebook.picture}}. This attribute will display the customer’s Facebook profile picture.
Choose Circle for the shape.
Step 5: Add a text layer to display the customer’s name, adjusting the position and size to fit the name entry area.
In the value section, enter {{facebook.name}} to display the customer’s Facebook name. Customize font, size, and alignment according to the textbox.
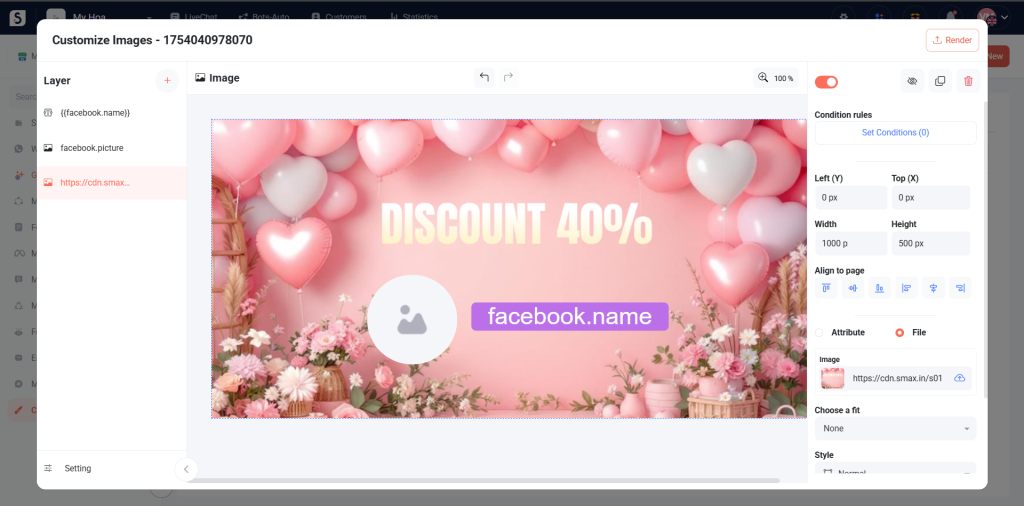
After finishing adjustments, click Render to save the created image.
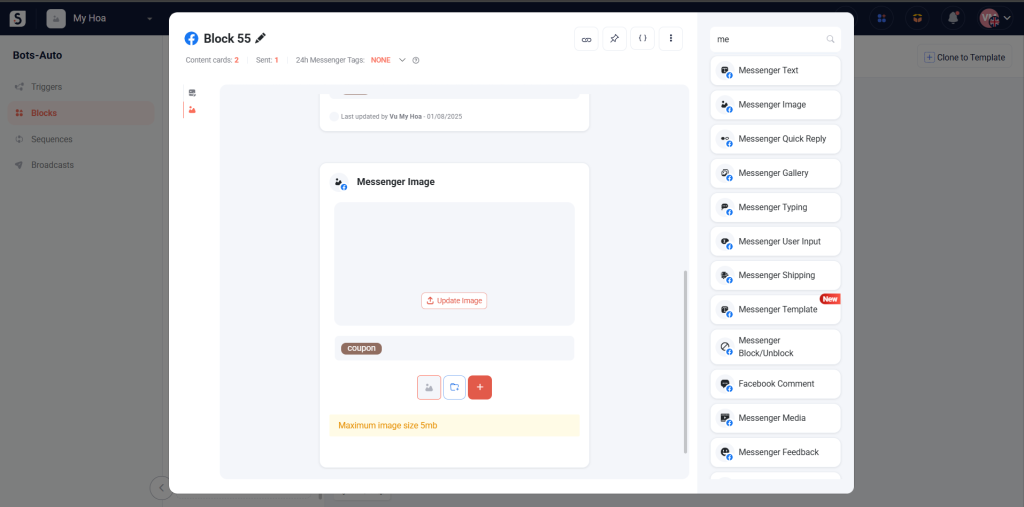
Step 6: Access the Bot-Auto module and create a new block.
In the created block, use the Custom Image card and select the personalized image you just created to automatically generate the image. Then, choose to save the image URL in any attribute.
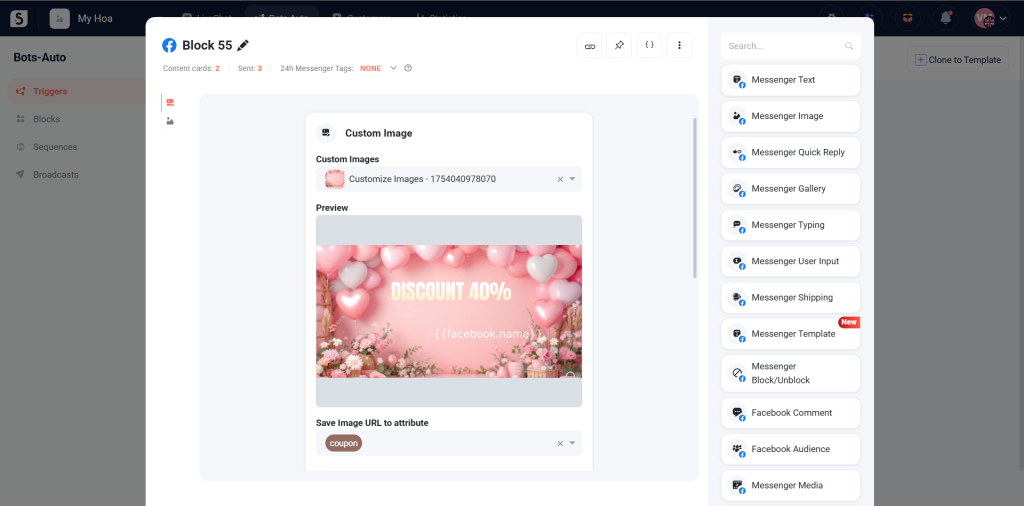
Below the Custom Image card, add a Messenger Image card and re-enter the attribute where you saved the image URL to send it back to the customer.